Windows 7 End of Support
Equipment Effected: All Flora Printers that use Konica Minolta 512 or 1024 Fixed Dot Print Heads
Priority: High Date Published: 01/17/2020
Attn Flora Printer Owners/Operators,
As some of you may have heard Microsoft has discontinued support for Windows 7, learn more here. What this means is Microsoft is no longer patching software bugs for Windows 7. This leaves Window 7 machines more susceptible to computer virus, malware and ransomware.
Microsoft is recommending that anyone on Windows 7 to upgrade their system to Windows 10. While this is a good practice in most instances it does present a problem to owners of older Flora printer models that use the Konica Minolta 512 or 1024 fixed dot heads.
These older Flora printer models do not have USB drivers that are Windows 10 Certified. Without making changes to the Bios and boot configuration of Windows 10 systems you will not be able to operate these older Flora systems.
There are several reasons that Flora has no plans of writing Windows 10 certified USB drivers for these older systems there is still a work around to get them to work. Follow the three steps below to configure Windows 10 to work with older Flora systems.
- The first step is to disable Secure Boot in the computer Bios or UEFI Firmware. Microsoft has a quick guide with the steps here.
- The second step is to disable driver signature enforcement in Windows 10. Follow the below steps to disable driver signature enforcement.
- Click the Start menu and select Settings.
- Click Update and Security.
- Click on Recovery.
- Click Restart now under Advanced Startup.
- Click Troubleshoot.
- Click Advanced options.
- Click Startup Settings.
- Click on Restart.
- On the Startup Settings screen press 7 or F7 to disable driver signature enforcement.
- The third and final step is to run Windows 10 in Test Signing Mode. Follow the below steps to activate Test Signing Mode.
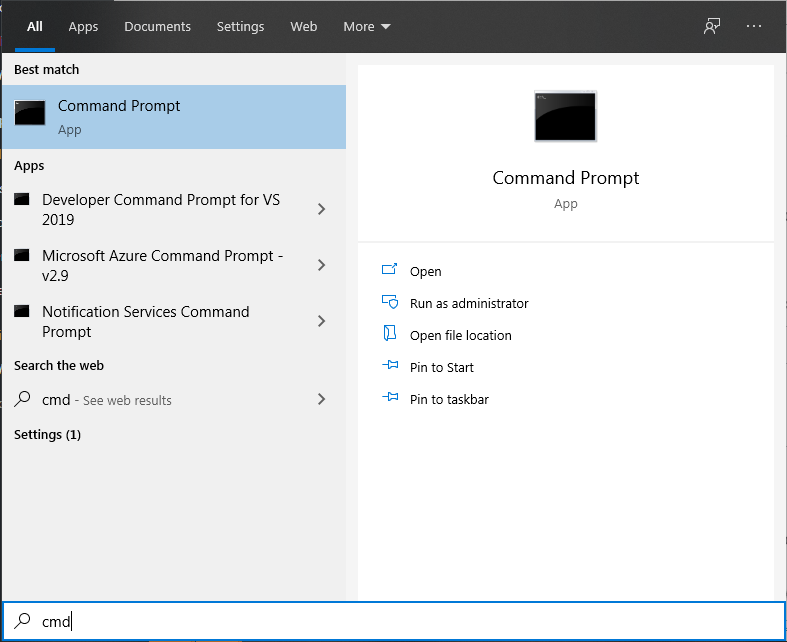
- Click the Start menu
- Type CMD and either right click on the Command Prompt and select Run as administrator or if you have a newer build of Windows 10 run as administrator will be an option to the right as show below.
- In the Command Prompt type “bcdedit.exe /set testsigning on” without the quotes and press Enter. The command prompt should say “The operation Completed Successfully.”
- Restart the Computer and you should notice some text right above the clock on the desktop that says “Test Mode”, if you see this than you successfully turned Test Signing Mode on.
Now that you have completed the three steps above you can install PhotoPRINT and the USB Driver and connect the printer to the computer. If you need any assistance with this feel free to contact us.
Thanks,
American Printing Systems Technical Support Department
105 W. Dewey Ave, Suite 318, Wharton, NJ 07885
Phone: 862-437-1457 E-Mail: support@florausa.net
0 Comments